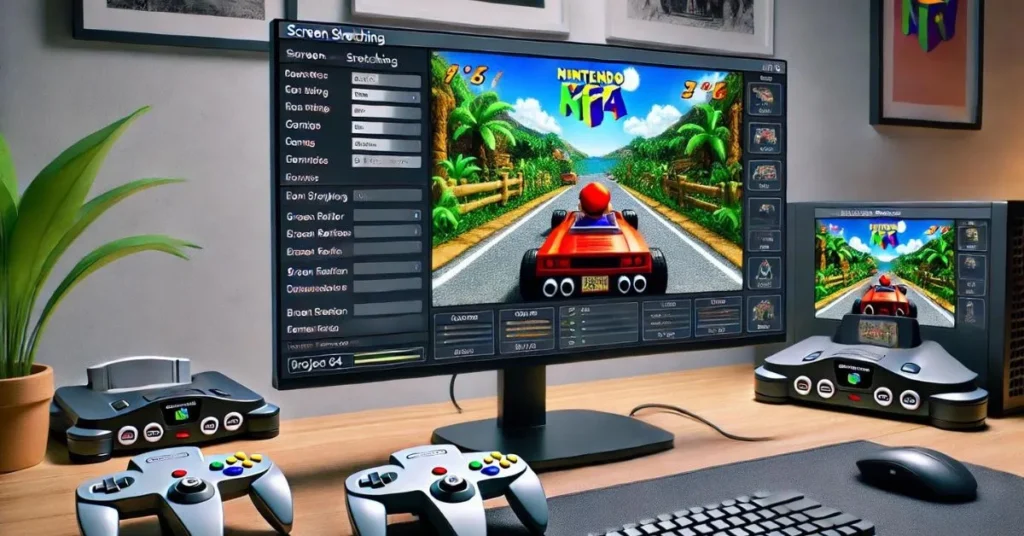
Project64, commonly known as PJ64, is a popular Nintendo 64 emulator used by retro gaming enthusiasts. It allows players to enjoy their favorite N64 games on modern PCs with enhanced graphics and performance. However, one common issue that users encounter is the appearance of borders or black bars around the game screen.
These borders can be distracting and take away from the immersive experience that players seek. Borders usually appear due to differences in aspect ratios between the original games and modern displays. This issue is particularly noticeable when trying to play in full-screen mode or when certain video settings are not configured correctly.
Removing these borders can greatly improve the visual quality of your gameplay. A clean, borderless screen makes the game look more authentic, closer to how it originally appeared on a classic CRT television. Fortunately, PJ64 offers various settings and tweaks that can help you eliminate these borders and enhance your overall gaming experience.
In this guide, we will walk you through the step-by-step process of addressing border issues in PJ64. We will cover how to access and adjust video settings, the best plugins to use, and troubleshooting tips if the borders persist. Whether you are a seasoned PJ64 user or new to emulation, these instructions will help you achieve a border-free, full-screen display.
By following these simple steps, you can enjoy your favorite N64 games just the way you remember them—without the annoying borders. Let’s dive into the settings that will give you the best possible visuals on PJ64.
Contents
Step-by-Step Guide to Removing Borders on PJ64
Step 1: Launching Project64
Start by opening the Project64 emulator on your computer. Make sure you have the latest version of PJ64 installed, as updates often include important fixes and improvements. If you don’t have the latest version, visit the official PJ64 website to download and install it.
Step 2: Accessing Video Plugin Settings
Once Project64 is open, go to the top menu and click on “Options,” then select “Settings.” In the Settings window, navigate to the “Plugins” tab. Under the “Video (graphics)” section, you will see the currently selected video plugin. Click the dropdown to view and select different video plugins that may help address the border issue.
Step 3: Tweaking Video Settings to Remove Borders
Next, click on “Options” in the top menu again, but this time choose “Configure Graphics Plugin.” This will open a new window with various video settings. To eliminate borders, you need to adjust settings like the aspect ratio, screen stretching, and resolution. Set the aspect ratio to “Stretch” or “4:3” depending on your display preferences, and try enabling full-screen mode. Play around with these settings until the borders disappear.
Step 4: Testing and Adjusting Your Changes
After making changes in the graphics settings, start a game to see if the borders are gone. If borders still appear, go back to the “Configure Graphics Plugin” menu and try adjusting other settings like “Windowed Resolution” or “Fullscreen Resolution.” You might need to try different combinations of plugins and settings to find the one that works best for your setup.
Step 5: Saving Your Configuration for Future Use
Once you have found the settings that address the border issue, make sure to save your configuration. This way, the next time you launch PJ64, your games will display without borders. To save your settings, go back to the main settings window and click “OK” or “Apply” to ensure all your changes are kept.
By following these steps, you should be able to resolve the border issue in PJ64 and enjoy a cleaner, more immersive gaming experience. If the borders persist, consider experimenting further with different video plugins or seeking help from online forums dedicated to PJ64 users.
Troubleshooting Common Issues
Persistent Borders After Tweaks
Sometimes, borders may still appear even after adjusting the settings. This could happen if the selected video plugin isn’t compatible with the game you’re playing. If this happens, try switching to another video plugin from the settings menu and adjust the aspect ratio or full-screen options again.
Plugin Compatibility Problems
Not all video plugins work well with every game on PJ64. Some plugins may not fully support certain display settings, causing borders to remain. To resolve this, use plugins known for good compatibility, like Glide64 or Jabo’s Direct3D. You can switch between these plugins by accessing the “Plugins” tab under the settings menu and selecting a different video plugin.
Performance Issues When Removing Borders
Adjusting video settings to remove borders can sometimes affect emulator performance. For example, enabling screen stretching or high resolutions may cause the game to run slowly on older or lower-end PCs. If you experience lag or stuttering, try lowering the resolution or switching back to the default aspect ratio to balance performance and visuals.
Reverting Changes to Default Settings
If you’ve made many changes and borders are still an issue, it might be best to reset to the default settings. Go back to the “Configure Graphics Plugin” window and look for a “Restore Defaults” or similar option. This will revert all changes, allowing you to start fresh with different settings or plugins.
Checking for Updates or Reinstalling PJ64
Sometimes, issues with borders are due to bugs in the emulator itself. Make sure you are using the latest version of Project64, as updates often fix common problems. If all else fails, consider reinstalling PJ64, which can resolve persistent issues by restoring the emulator to its original, working state.
By troubleshooting these common problems, you can ensure that your PJ64 setup is optimized for the best gaming experience without borders. Don’t hesitate to try different combinations of settings and plugins to achieve the desired result.
Additional Tips and Optimizations for PJ64
Enhancing Overall Visual Quality
Addressing borders is just the start of optimizing your PJ64 experience. You can also improve the graphics by enabling features like anti-aliasing or texture filtering in the video settings. These options help smooth out the graphics and make the games look sharper and more vibrant.
Using Texture Packs and Shaders
For even better visuals, consider using texture packs or shaders that enhance the game’s graphics. Texture packs replace the original game textures with high-resolution versions, while shaders add effects like lighting and shadows. You can find many community-made texture packs and shaders online, which can be easily applied through the “Textures” or “Shaders” tab in the video settings.
Optimizing Full-Screen Mode
For the best full-screen experience, make sure the full-screen resolution matches your monitor’s native resolution. This will help prevent any scaling issues that might cause borders or blurry images. You can adjust the full-screen resolution by going to “Configure Graphics Plugin” and selecting your desired resolution under the “Fullscreen Resolution” option.
Balancing Performance with Visual Quality
High-quality settings can sometimes strain your computer, especially on older hardware. If you notice slow performance or lag, try reducing the resolution or disabling demanding features like anti-aliasing. This will help keep the gameplay smooth while still improving the look of your games.
Recommended Plugins and Settings for Popular Games
Different games may require specific settings or plugins to look their best. For example, some games work better with Glide64, while others might run smoother with Jabo’s Direct3D. Check online forums or guides for recommended plugins and settings for your favorite N64 games to get the best performance and visuals.
By following these additional tips, you can enhance your PJ64 setup beyond just addressing borders. These optimizations will help you achieve the best possible retro gaming experience on your PC. Keep experimenting with settings to find the perfect balance for your system and the games you love!
Conclusion
Removing borders on PJ64 is a simple way to improve your gaming experience and make your favorite N64 games look their best. By following the steps to adjust video settings, choose the right plugins, and optimize your configuration, you can enjoy full-screen gameplay without distractions. Troubleshooting tips and additional optimizations can further enhance the visual quality and performance of the emulator.
Remember that every game might require a slightly different setup, so don’t hesitate to experiment with settings until you find what works best. Whether you’re a longtime PJ64 user or just starting with emulation, these adjustments can make a big difference in how your games look and feel.
We hope this guide has provided you with the knowledge you need to remove borders on PJ64 and enjoy your games to the fullest. Keep exploring and tweaking your settings to perfect your emulation setup. Happy gaming!
FAQs
How do I reset PJ64 settings if I make a mistake?
To reset PJ64 settings, go to the “Options” menu, select “Settings,” and click on “Restore Defaults.” This will revert all settings to their original state.
Can border removal settings affect other games on PJ64?
Yes, settings might affect different games differently. You may need to adjust the aspect ratio or screen stretching settings for each game to remove borders effectively.
Are there alternative emulators with easier border removal options?
Yes, emulators like Mupen64Plus or RetroArch might offer different settings interfaces that make border removal easier. Exploring these options can provide a smoother experience if you’re having trouble with PJ64.

